A REAL TI-NY.LINK BIO PAGE
A creator profile with a useful next step.
Open the Ember Studio demonstration page: a heading, an introduction and two useful links. Follow the guide to build the foundation for your own creator profile.
Creator profile
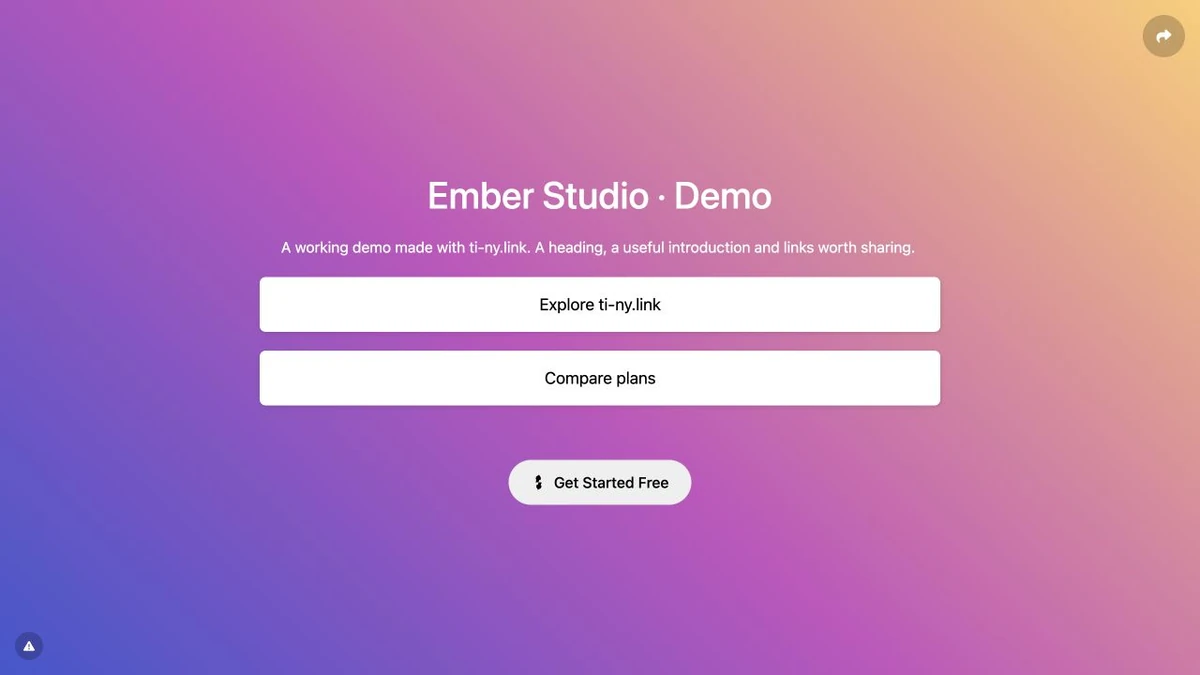
This is a real ti-ny.link page with illustrative content. It is not a customer testimonial, an active business offer or a claim about results.
Public demo addressti-ny.link/demo-bio-20260930 ↗
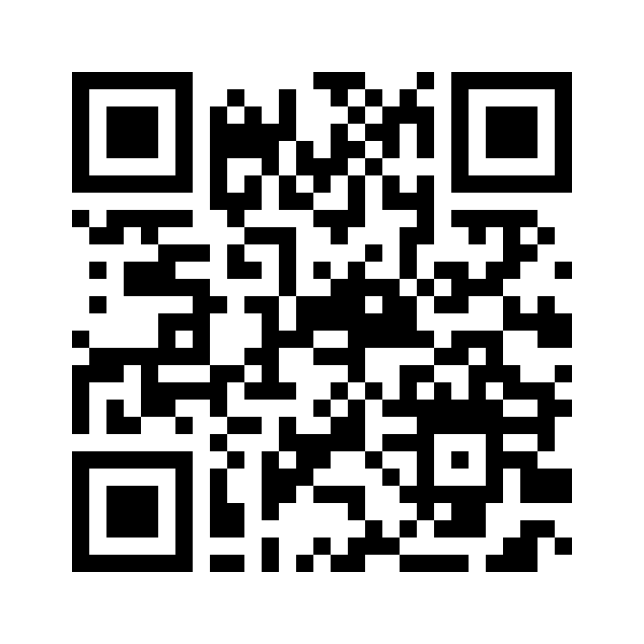
Try the QR journey.
Scan this code to open the demo. It encodes ti-ny.link/ember-demo-guide.
Download demo QR code ↓Download original SVG ↓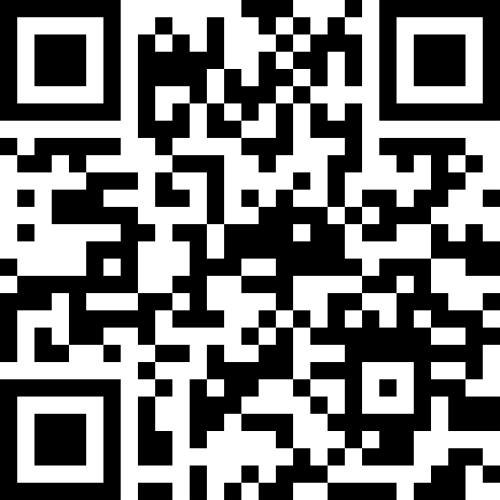
The PNG includes a white margin for scanning. Leave clear white space around the original SVG when placing it in a design.
MAKE YOUR OWN CONNECTION
Build this yourself.
Your bio page is the destination. Its blocks connect visitors to your content and any external services you choose.
Build your bio page Plan a creator launch →Create a bio page, choose its public address and add a heading that identifies your project.
Add a link block for the most useful next action. Select Update to save it, then open the public page to check the result.
Add supported content or media blocks as needed. Make the priority action easy to find on a phone.
For an offline placement, create a short link to the bio page and a dynamic QR code connected to that link. Test the full journey before sharing.
When you use a short link behind a QR code, keep its alias stable and test every destination update. A previously cached 301 redirect can persist after you change a link to 302. Scan-test your downloaded QR artwork before printing.